Overview
Clients who are not integrated can create new products via "Add Product" in the Products menu in Store Manager.
Instructions
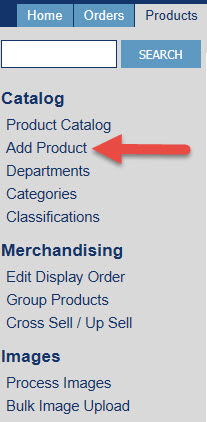
- Begin by clicking "Add Product" in the left menu in the Products menu.
- On the next screen, you will see all the fields available for your new product. They include:
- Product Name: See our help page on Product Naming for details on creating product names.
- Price: This is the full price of your product.
- SKU: This is an internal use only field and does not appear on the site. Consider placing the SKU/Style Number here. This information does appear during order fulfillment and can make finding a product, both in Store Manager and in your store, easier.
- Weight: This value determines what your shopper pays at checkout for shipping. It should be a whole number and rounded up to the next nearest number. Weigh the largest item in a size run in the shipping box.
- Sale Price: This is the sale price of your product. Sale prices are date driven; the default date is for 2 years but can be adjusted as needed. Sale prices will display on the site beginning on the start date and will "fall off" on the end date.
- Alerts: These are special call-outs or tags that can be added to products. They are a great way of providing additional information about a product on the list page. Like Sale Prices, they are date driven; the dates can be modified to fit your alert. More information on alerts can be found here.
- Available: This box is checked by default. Your product will not appear on the site until it has a live or processed image. Consider unchecking this box when your product sells out. This action saves the product and it's details for you but removes it from your online store.
- Short Descriptions, Long Descriptions & Special Instructions: Be sure your descriptions are unique to you and your store! Details on these fields can be found here. Following the suggested guidelines will help with search engine optimization!
- Sections, Departments & Categories: Check the appropriate box for each section. Products can be in multiple sections and departments if appropriate. Information on adding Departments can be found here. Information on adding Categories can be found here.
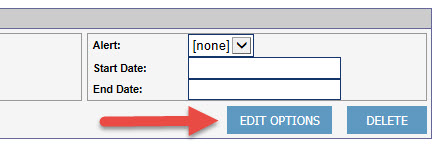
- Edit Options: Scroll to the top of the screen and click "Edit Options". The Edit Options screen allows you to create options for your shopper to choose from. These options are generally size and color but can be any choice a shopper needs to make for a particular product.
- Products that are one of a kind do not need an option created. If the item represented in the product image is the only one, skip creating an option! For example, if a handbag only comes in one color, there is no need to create an option for that lone color.
- Every product can have up to 4 Options.
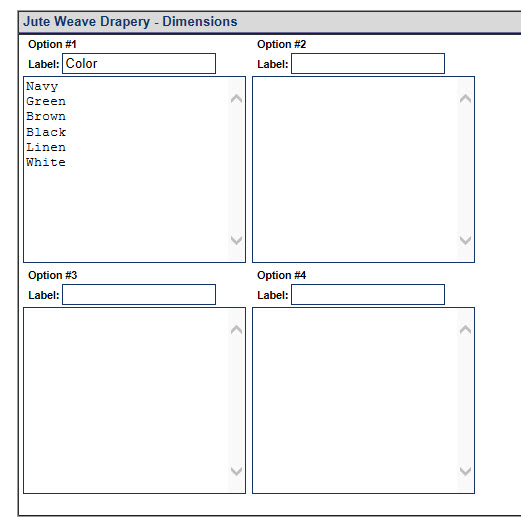
- Enter the Label and the options as a list.
- Once the options have been created, SAVE your product.
- Images may be added while creating your product or after the product has been created. Either approach is fine and will depend on when your catalog images are available. Information on cropping images and uploading them can be found here.