Overview
One of our key B2B features is Account Management; the ability to view and manage all the account information brought over from CounterPoint. This article will give a broad overview of what you can do with our Account Management feature.
Account Management
To use the Admin Panel's B2B features log into the Admin Panel and look for the B2B Menu in the left navigation menu. From there, you can click B2B to expand the menu, showing you the Accounts option.
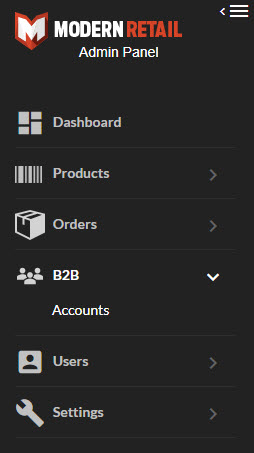
Clicking on Accounts will bring you to the Account Management screen.
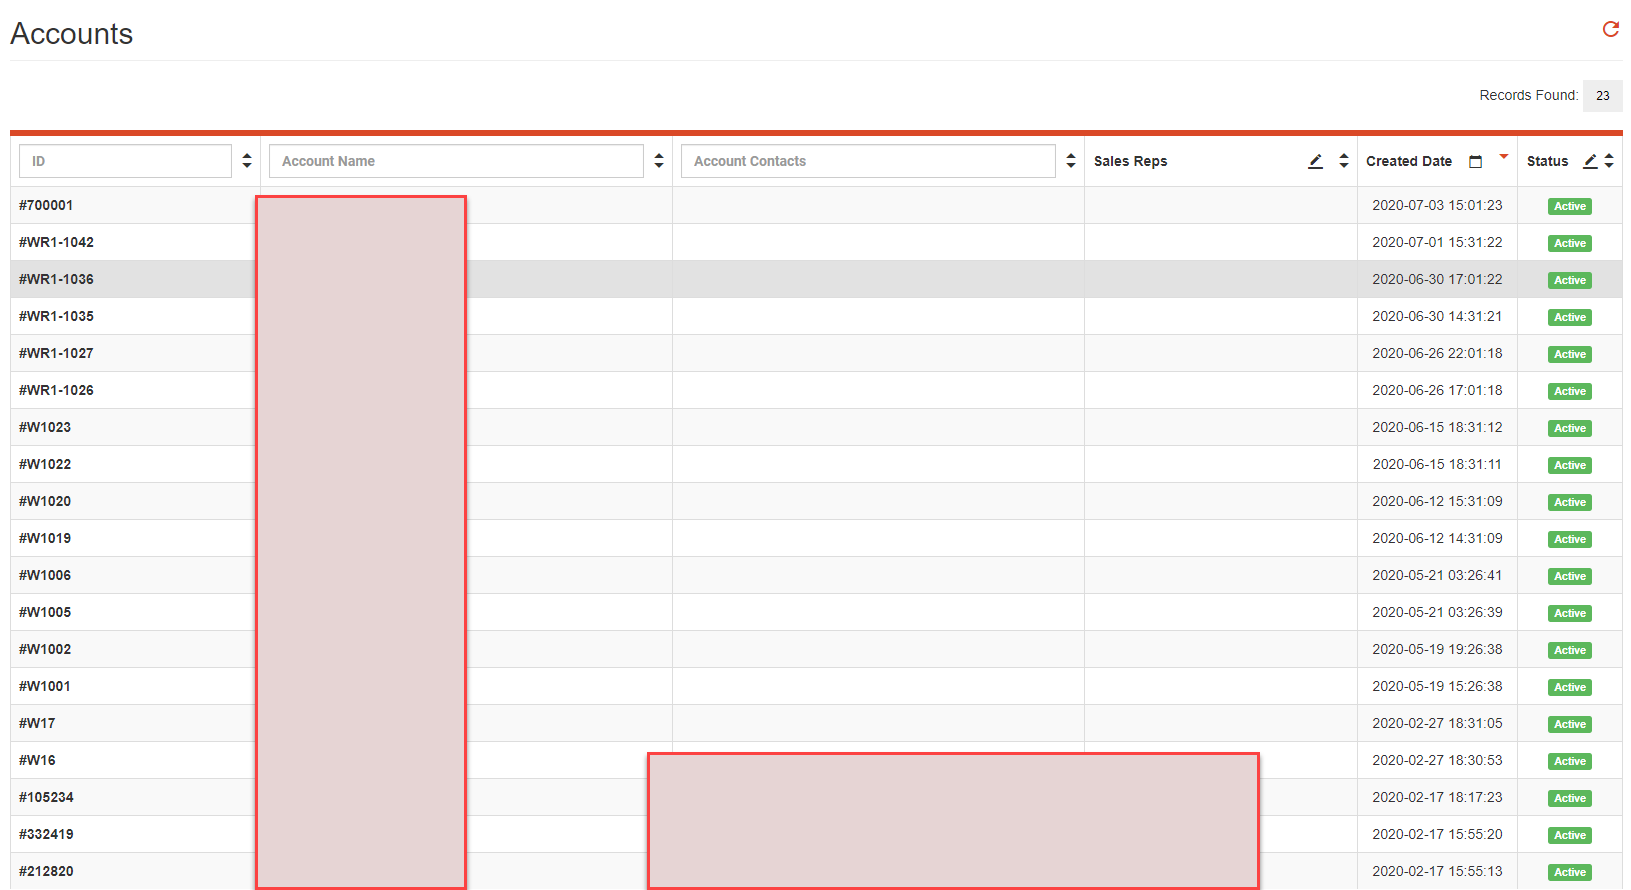
The Accounts screen will allow you to filter or search the accounts by:
- Account ID
- Account Name
- Account Contacts
- Sales Reps
- Account Creation Date
- NOTE: This date is the date the Account was created in our Admin Panel; not the date it was created in your POS system.
- Status
Clicking on any of the fields will open a window that allows you to manage the account details.
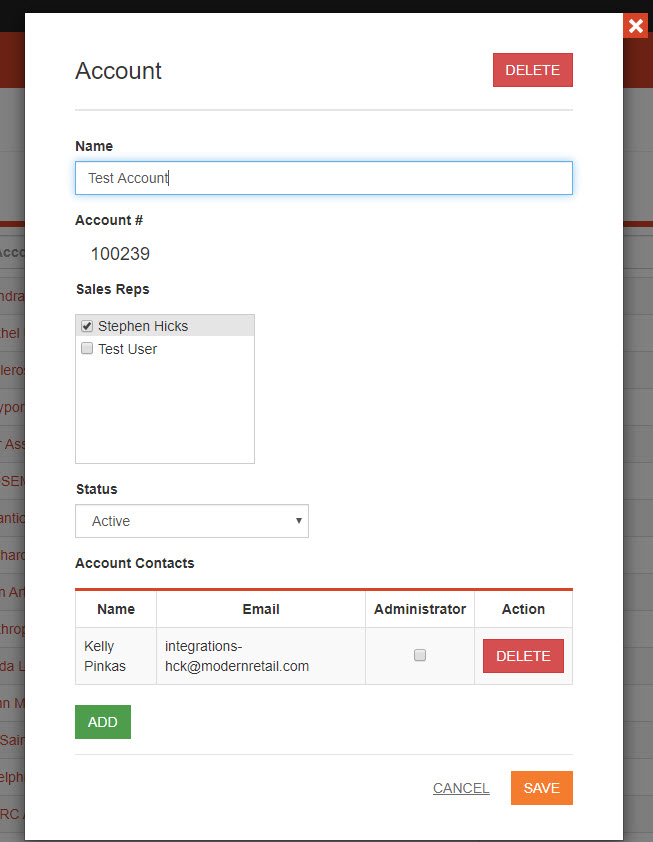
Account Management Features and Tools include:
- In the upper right corner you'll see a "Delete" button. This will Delete the Account from the Modern Retail Admin Panel. It will not delete the account from your POS system. Accounts can be resent from the POS system if needed.
- The Account Name can be edited as needed. Editing the Account Name in the Admin Panel will not change it in your POS system.

- Account Number is a fixed field and cannot be edited. This value comes directly from your POS system.
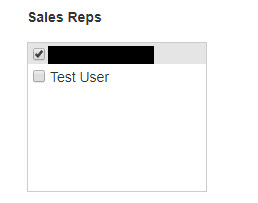
- Sales Reps work for your business and are the Account's contact or liaison. They must be created as a User in the Admin Panel before being available to be assigned to an Account. Information on creating users can be found here.
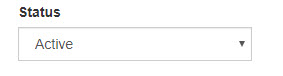
- The Status options will allow you to make an account active or inactive. Setting an account to inactive will disable their ability to see their Account Summary, Payment History or Order History on your site. You can use this feature for Accounts that are past due, instead of deleting the account.
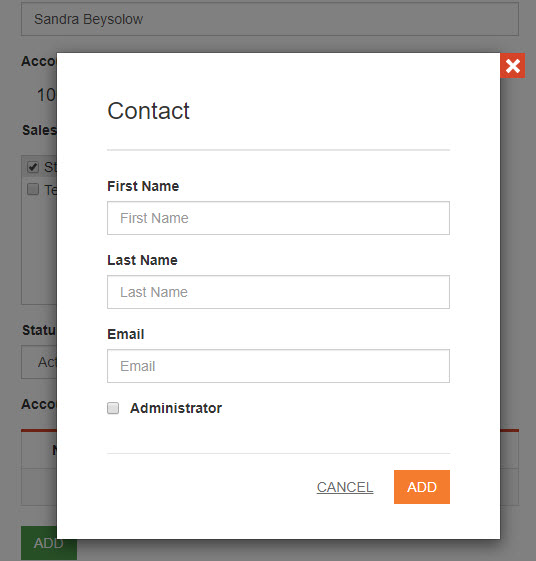
- Account Contacts allows you to add people to an account who should have access to that Account's information on your site. To add a contact, click Add and then enter their name and email address.
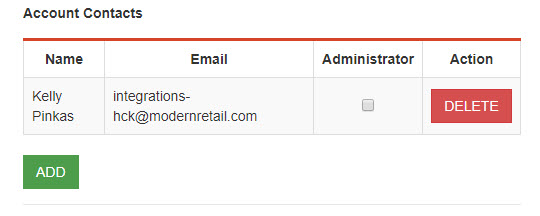
- Making a contact an Administrator will allow them to add additional Account Contacts.
- After entering a contact's name and email address, hit "Add" to save the new contact.
- Clicking DELETE beside an account contact will delete that contact from the account. Contacts can always be re-added.
If you've made any changes to the Account Name, Sales Reps or Account Status, be sure to hit Save in the lower right corner!
If you're interested in adding B2B Features to your integration, please open a Support Request and we'll be in touch.