Overview
You can customize your Local Delivery experience with the Rules page. Rules are what decide which products can be shipped where, and for how much. You can use rules to guarantee that your local delivery system works perfectly for your business, controlling exactly how Local Delivery works for you. This article will show you how to set up or edit rules in the Admin Panel.
Adding New Rules
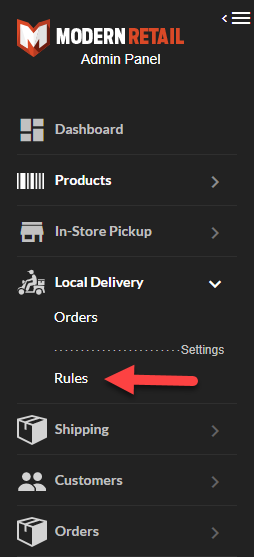
In order to add new rules, you first have to go to the Rules page under Local Delivery.
From here, the Admin Panel will display any rules that currently exist for your platform, as well as a button for creating new rules.
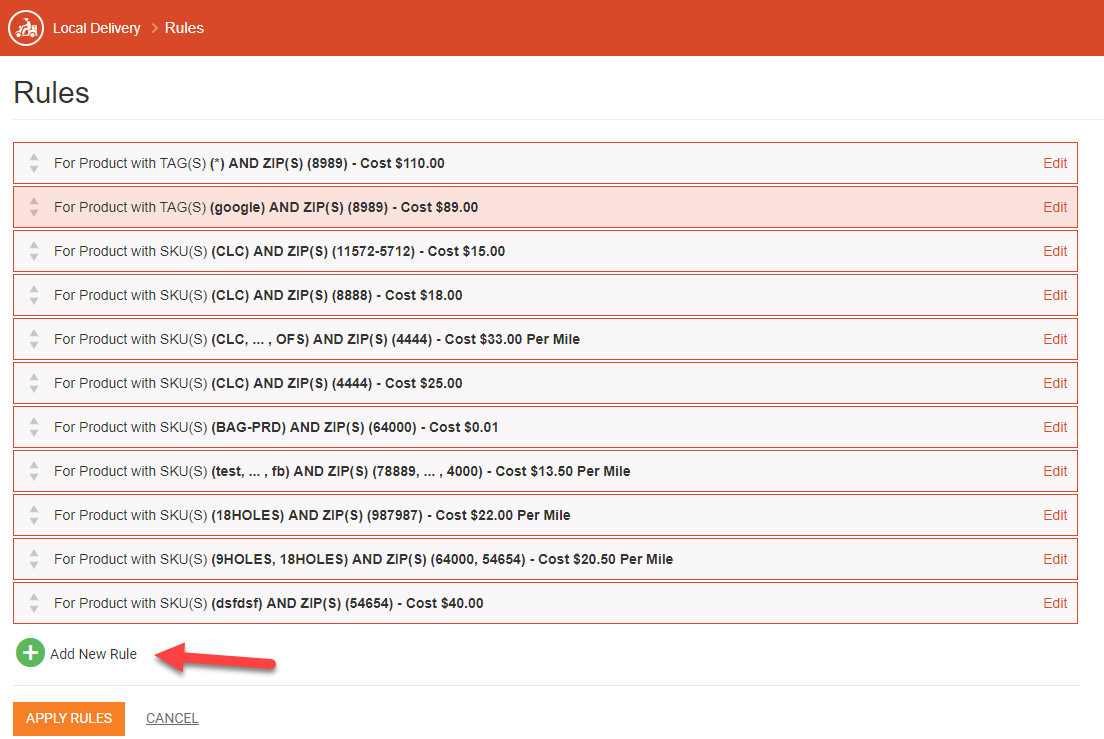
Click Add New Rule to open up a window for creating new rules, or click on the Edit button to edit an existing rule.
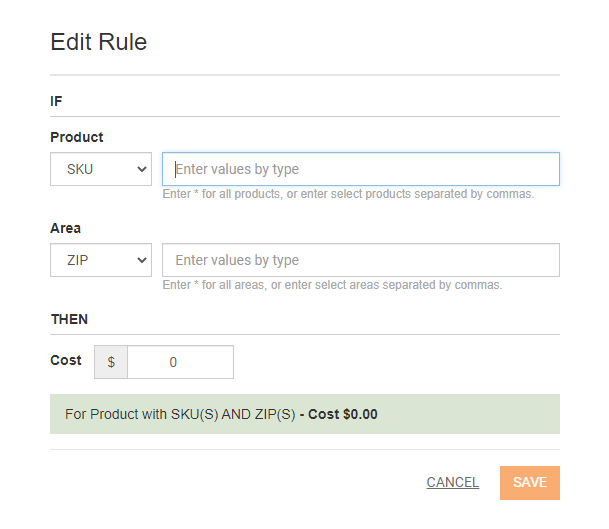
From here you can establish a new rule for Local Delivery. The first field is where you can list any products you want the rule to apply to. By default you can list the product SKUs, separated by commas, but if you click on the dropdown on the left of the field you can instead list product TAGs.
Next, you can list the areas you want the rule to apply to. Using the second dropdown on the left you can choose between listing ZIP codes or states. Whichever you prefer, type out the relevant information, separated by commas.
Finally, in the Cost field at the bottom, you can set the cost. When you're satisfied with the new rule you've designed, hit the Save button in the bottom right.
Example
So, let's say you wanted to make sure that your shirts only cost 4$ for Local Delivery to Seattle. You'd enter the SKUs for your shirts in the first field, the Seattle Zip Code (98101) in the second field, and then 4$ in the last field.
If you have any other questions, please feel free to submit a support request.