Overview
Collections are a way to organize your products on your site to make it easy for your shoppers to find products. Creating new collections in Shopify is easy and allows you to adapt your catalog organization as time passes or your offerings change.
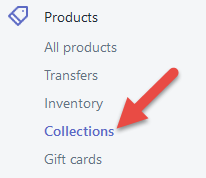
To create a new collection, log into Shopify > Products > Collections.
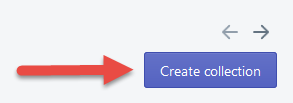
Look for the "Create Collections" button the top right of the screen.
Name your collection following the structure already established by your Developer or Project Manager. It will often look like this:
- Women : Clothing : Dresses
The Description field is great for SEO and is an ideal opportunity to add content to the collection's meta description.
NOTE: Descriptions may not automatically appear on the front end of your site; you may need to contact your developer if you want the content displayed.
Conditions determine how products are added to a collection. You have two options:
- Manually
- This means you must assign products to a collection.
- Selecting this option also means out of stock product may show on the front end because you cannot set a condition to exclude them.
- Automatically
- In general, collections should be automatic and have at least 2 conditions:
- One based on inventory being greater than 0. This will exclude out of stock products from the front end of the site.
- One based on a product's tag.
- If you select Automatic conditions, products should match all the conditions you set.
- In general, collections should be automatic and have at least 2 conditions:
New Collections will automatically be assigned to all of your selling channels.
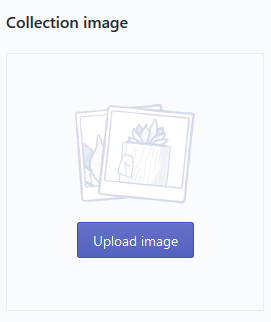
Collections may have images added; check with your developer or Project Manager for both the dimensions as well as if your site is configured to show an image. To add an image, simply click "upload image".
You can save your new collection at any time by simply clicking "save collection". The Save button can be found at the top or bottom of the screen.
