If your site has the Lookbook functionality, you can create as many collections as you like and have a large image display at the top with the related products underneath. This is a great way to show your clients what the pieces look like together.
To create a new look, you have to do two things, create a collection and make a product.
The first step is to create a collection. You do this in Shopify by going to Products> Collections and hitting "Add Collection"
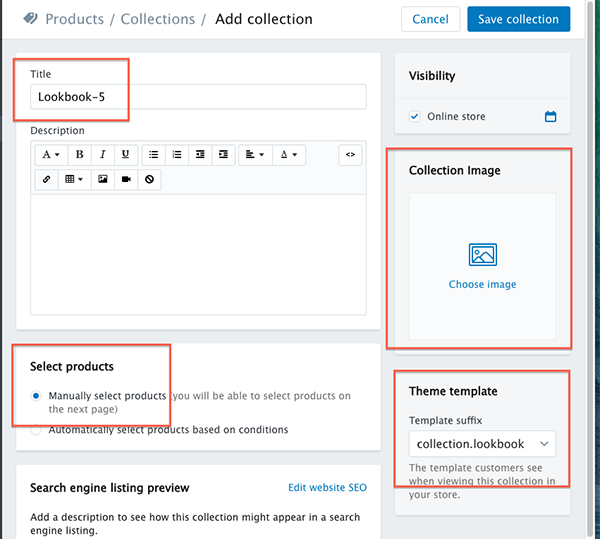
ON this new page you have to:
1. Add a title
2. Add an image, this will be the image that shows on the Lookbook landing page.
3. Define the collection as a MANUAL collection.
4. Define the template as collection.lookbook
5. Save the collection.
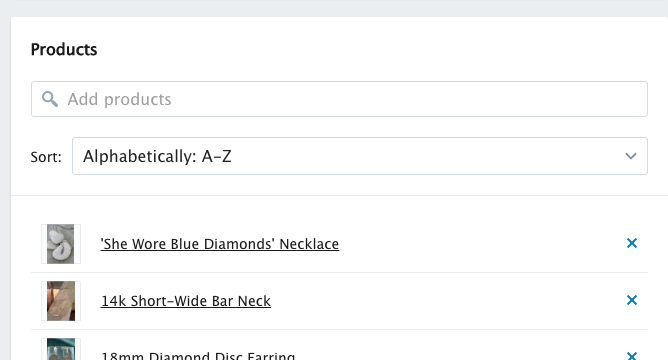
Now that the collection is created you will see a "Products" section that will allow you to define which products will show on the page under the image.
The second step is to create a product.
You do this in Products >Products.
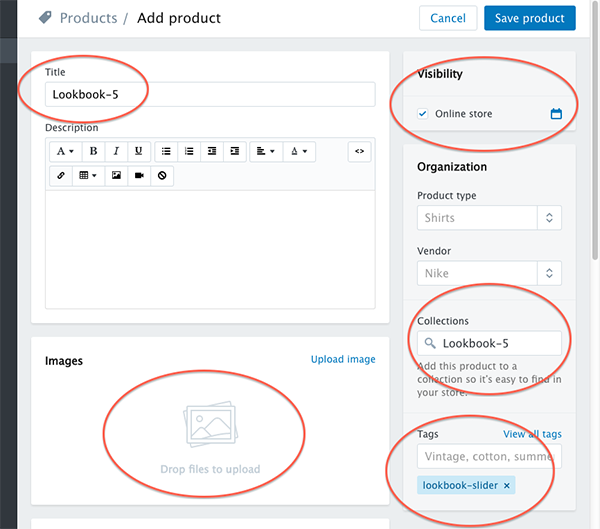
On this page you have to :
1. Add the product name
2. Add the image/Images (if you add more than one image a slideshow will appear on the page.)
3. Assign the collection (this defines which collection the images appears)
4. Assign the tag, "lookbook-slider"
5. Save Product
Now that you have created the Collection and the Product you should see an image on the Lookbook page and when you click on that image you should see the collection page with an image at the top and products under that.